
NEXTION LCD for arduino2
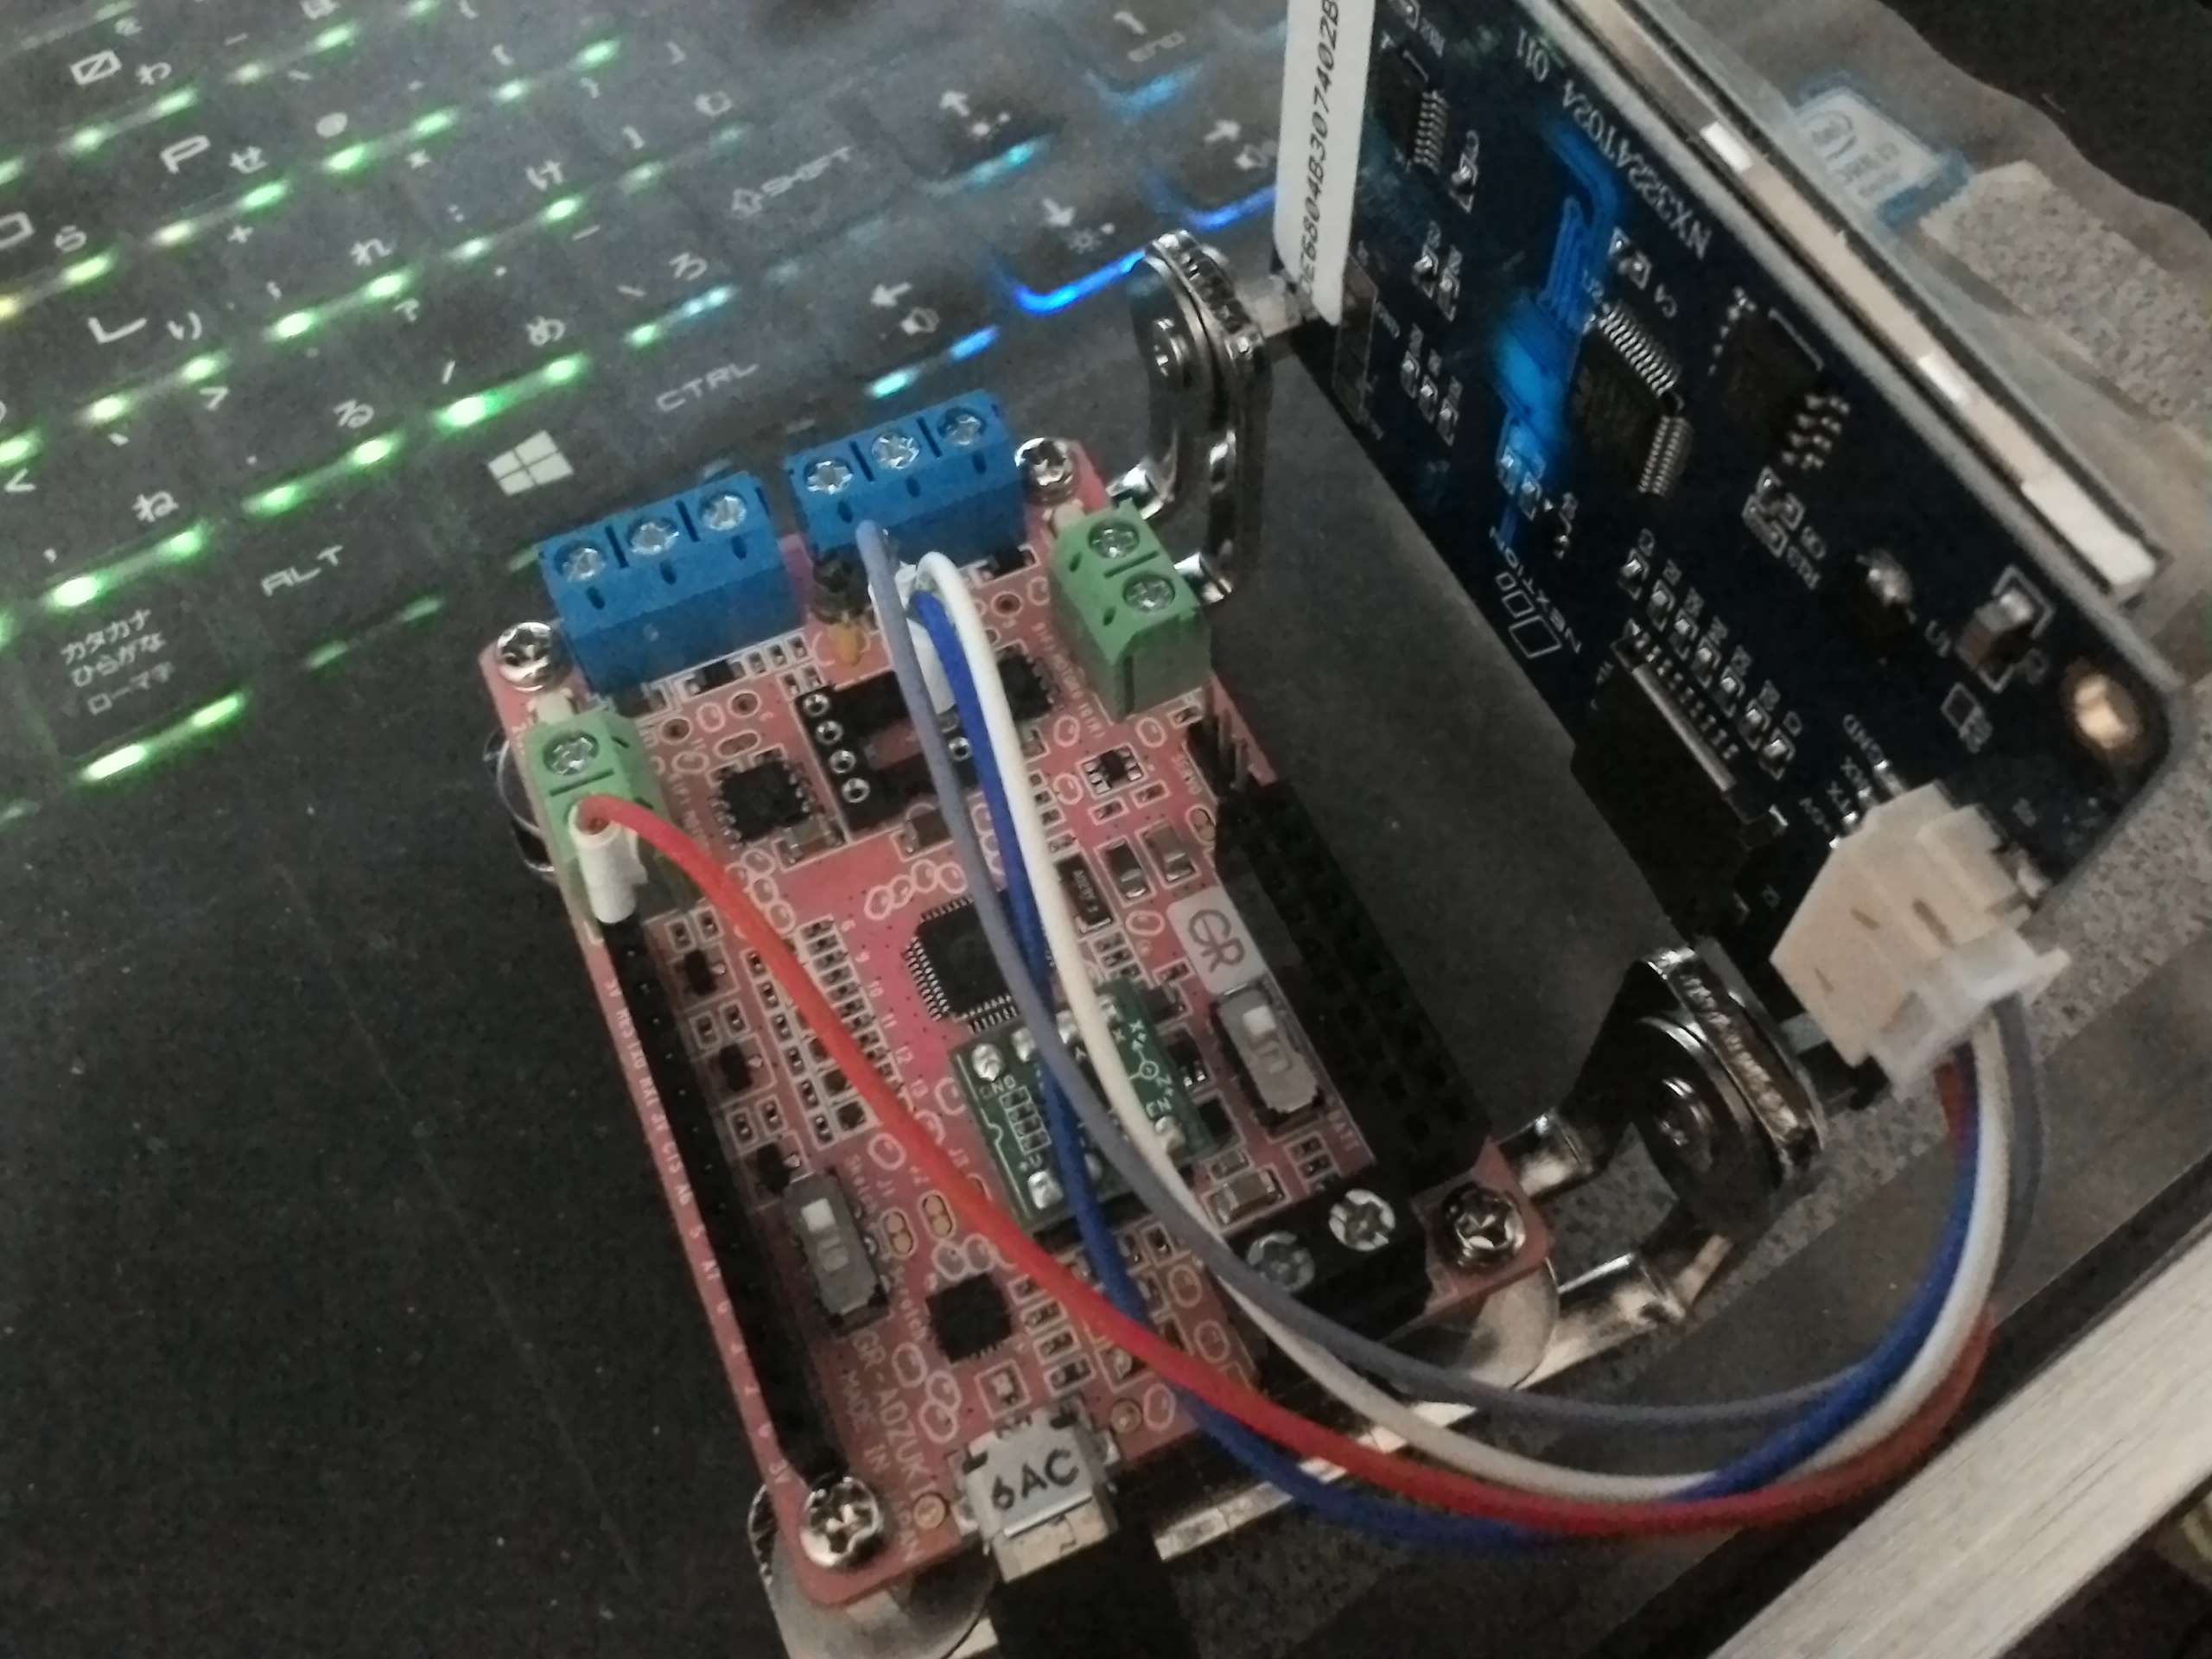
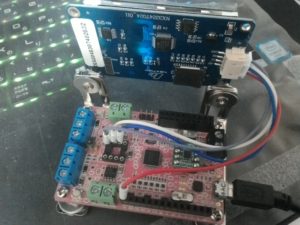
NEXTION LCDをGR-ADZUKIに接続しました。
まずNextionEditorで画面を作成します。
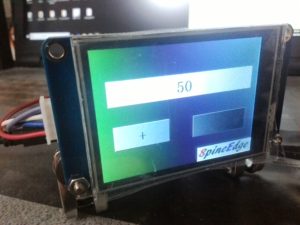
2ページの画面をCompTextサンプルプログラムをベースに作成しました。
作成した画面プログラムは、予めNEXTION LCDにUPLOADしておきます。
ライブラリITEADLIB_Arduino_Nextion-0.7.0はそのままでは使用できませんでした。
utoa(number, buf, 10);
を
sprintf(buf, “%d”, number);
に変更します。
NexProgressBar.cpp
NexPicture.cpp
NexSlider.cpp
NexGauge.cpp
NexCrop.cpp
のファイルが対象です。
次にNEXTION LCDと接続するシリアルポートの設定です。
7ピンと8ピンのシリアル1を使用します。
NexConfig.hの
#define nexSerial Serial2
を
#define nexSerial Serial1
に変更します。
無事、動作しました。
ページの移動は、SpineEdgeロゴ画像のタッチで行えます。
サンプルプログラムは以下にあります。
https://github.com/jendo1969/GR-ADZUKI2/tree/master/nextion/CompText
NEXTION LCD connected to GR-ADZUKI.
First, create a screen with NextionEditor.。
I made a screen of 2 pages based on the CompText sample program.
Upload the created screen program to the NEXTION LCD beforehand.
The library ITEADLIB_Arduino_Nextion – 0.7.0 could not be used as it was.
utoa (number, buf, 10);
with
sprintf (buf, “% d”, number);
Change to.
NexProgressBar.cpp
NexPicture.cpp
NexSlider.cpp
NexGauge.cpp
NexCrop.cpp
These files are targeted.
Next is the setting of the serial port connected to the NEXTION LCD.
Use 7 pin and 8 pin serial 1.
In NexConfig.h,
#define nexSerial Serial2
with
#define nexSerial Serial1
Change to.
It worked without problems.
You can move pages by touching the SpineEdge logo image.
The sample program is below.
https://github.com/jendo1969/GR-ADZUKI2/tree/master/nextion/CompText
NEXTION LCD連接到GR-ADZUKI。
首先,使用NextionEditor創建一個屏幕。
我根據CompText示例程序製作了2頁的屏幕。
事先將創建的屏幕程序上傳到NEXTION LCD。
庫ITEADLIB_Arduino_Nextion – 0.7.0無法按原樣使用。
utoa(號碼,buf,10);
該
sprintf(buf,“%d”,數字);
改為。
NexProgressBar.cpp
NexPicture.cpp
NexSlider.cpp
NexGauge.cpp
NexCrop.cpp
這些文件是目標。
接下來是連接到NEXTION LCD的串行端口的設置。
使用7針和8針串行1。
在NexConfig.h中
#define nexSerial Serial2
該
#define nexSerial Serial1
改為。
它沒有問題。。
您可以通過觸摸SpineEdge徽標圖像來移動頁面。
示例程序如下。
https://github.com/jendo1969/GR-ADZUKI2/tree/master/nextion/CompText