
EK-RA6M2 Evaluation kit6
前回で準備が終わっているので、スレッド内のコーディングをするだけです。
Blinky Threadは、最初からLED2が1秒で点滅を繰り返すコードが自動的に生成されています。
UART Threadにコードを追加していきます。
基本的に「sci_uart_ek_ra6m2_ep」のuart_ep.cソースファイルを流用します。
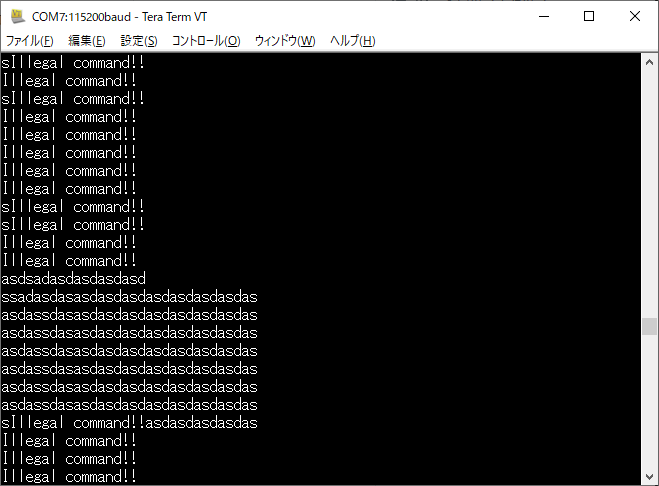
FreeRTOSのスレッドを使って簡単にUARTが使用できました。
今後、UARTを使用してPCとのやり取りができるようにします。
Since we were ready last time, we just need to code in the thread.
From the beginning, Blinky Thread automatically generates a code that causes LED2 to blink in 1 second.
We will add code to the UART Thread.
Basically, the uart_ep.c source file of “sci_uart_ek_ra6m2_ep” is used.
I was able to easily use the UART using the FreeRTOS thread.
In the future, we will be able to communicate with the PC using UART.
我們已經準備好最後一次了,所以我們要做的就是線程中的代碼。
從一開始,“閃爍線程”會自動生成一個代碼,使LED2在1秒鐘內閃爍。
我們將代碼添加到UART線程。
基本上,使用“ sci_uart_ek_ra6m2_ep”的uart_ep.c源文件。
我可以輕鬆地將UART與FreeRTOS線程一起使用。
將來,我們將能夠使用UART與PC通信。